CentOS 5.7 Install Instructions (Hyper-V)
- Download the ISO of CentOS 5.7 to your Hyper-V server.
- Create a virtual server. *Remember, this VM is going to have all your computer images on them so plan hard drive size accordingly. I suggest at least 250GB or more.
- Before you boot the server, go into the VM settings. Remove the existing Network Adapter and add a Legacy Network Adapter. Adjust other VM settings as needed and then click OK.
- Boot the VM.
- Press Enter on the keyboard to install CentOS in a Graphical Interface.
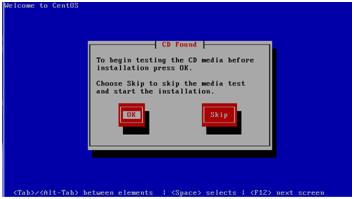
- Skip the CD/DVD media test.
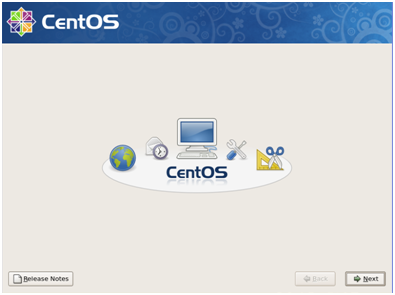
- Click Next or Alt + N if you are using a keyboard.
- Select the Language. English is the default. Click Next.
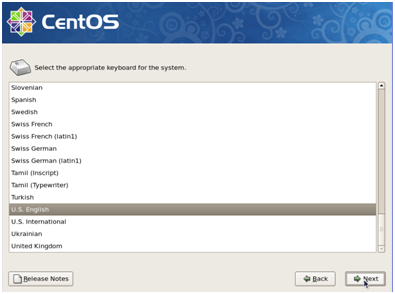
- Select the Keyboard Layout. US English is the default. Click Next.
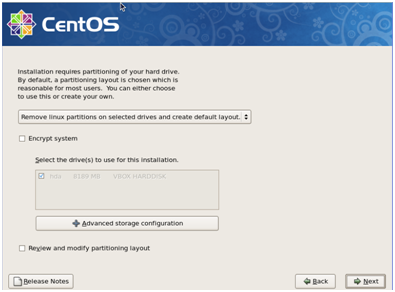
- A warning will appear about the hard drive (hda) is unreadable and will be initialized. Click Yes (Alt + Y on keyboard).
- Click Next.
- Click Yes on the warning to remove all data.
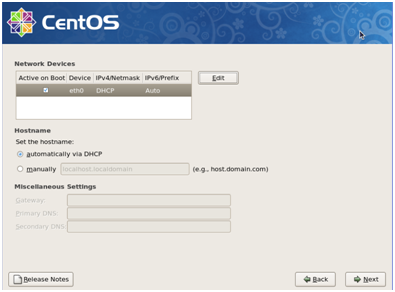
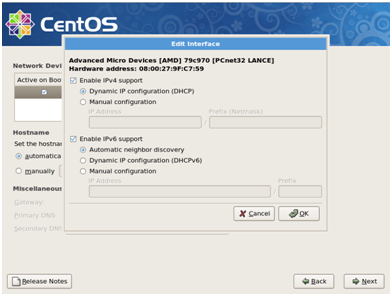
- Network Settings. Click on Edit (Alt + E)
- Select Manual configuration and enter an IP address for the server. *Note: Prefix is the Subnet Mask. Clear the Check from Enable IPv6. Click OK
- Under Hostname, enter the name of the server. I suggest the school initials followed by “-FOG”. Then under Miscellaneous Settings, enter the Gateway and at least the Primary DNS. Click Next
- Select the Time Zone. America/New_York is the default.
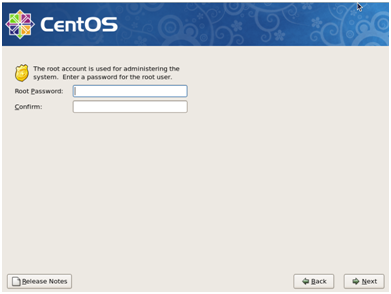
- Enter a password for the root (administrator) user. Click Next.
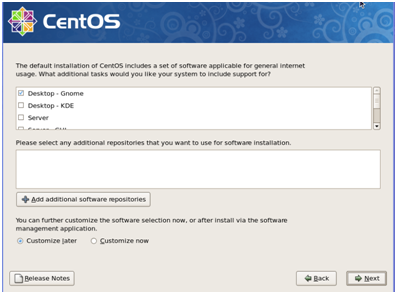
- Select the additional software packages you would like to install. I suggest to not add or remove any additional software. Click Next.
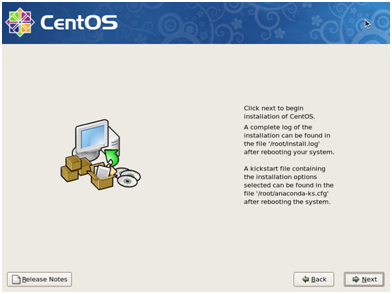
- Click Next to begin the installation of the CentOS operating system.
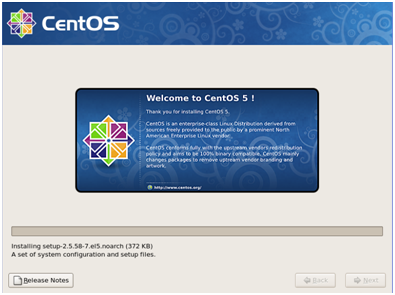
- You will see screens similar to this one.
- Once the installation is finished, the system will eject the CD/DVD. (If you are installing CentOS on a physical machine, remove the CD/DVD.) Click Reboot.
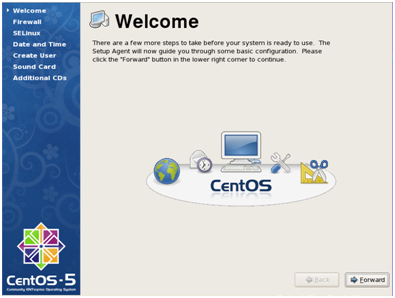
- After the system reboots, some additional additional settings need to be configured. Click Forward (Alt + N on keyboard)
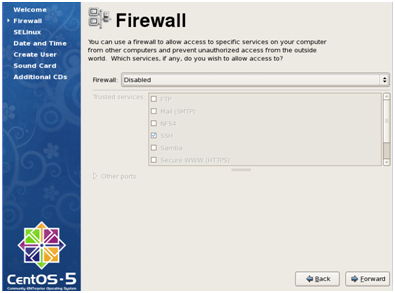
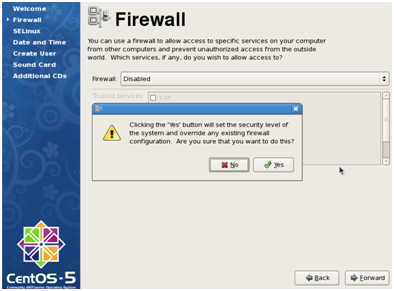
- Set the Firewall to Disabled. Click Forward.
- Click Yes on the warning that appears.
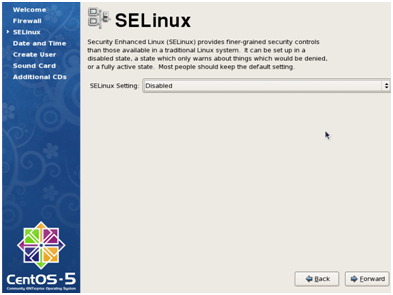
- Set SELinux to Disabled. Click Forward.
- Click Yes on the warning that appears.
- Set the Date and Time and Click Forward.
- Create a user. I suggest the username admin with the same password the root (administrator) user. Click Forward.
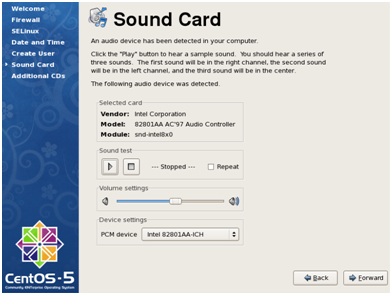
- Sound Card. Not Needed for a server. Click Forward.
- Configuration Complete. Click Finished.


No comments:
Post a Comment